Weighted Grade System in Brightspace
The Brightspace Grade book offers two grading systems for calculating overall final course grades.
- A Points Grade system adds all assessment points together in a cumulative final grade. By default, all John Jay Brightspace courses are set as a Points Grade system.
- A Weighted Grade system, in which assessments and/or categories can be assigned a percentage equaling a final grade of 100%. This is the most common grading system used by instructors at John Jay and must be manually configured within a course.
Below are examples comparing a Points Grade system and a Weighted Grade system.
Points:
Assignments Category (40 points)
- Assignment 1 Item (20 points)
- Assignment 2 Item (20 points)
Final Exam Item (200 points)
Final Grade: /240 points
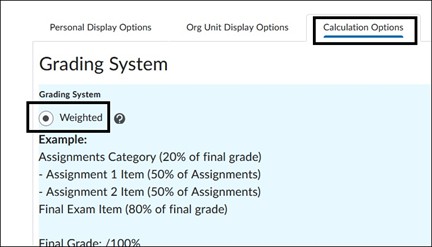
Weighted:
Assignments Category (20% of final grade)
- Assignment 1 Item (50% of Assignments)
- Assignment 2 Item (50% of Assignments)
Final Exam Item (80% of final grade)
Final Grade: /100
Setting your Brightspace Gradebook to a Weight Grades System
- In your course, select More on the course navbar and select Grades from the drop-down menu. You can also access Grades through Course Admin > Assessment > Grades.

- On the Enter Grades page, select the Settings icon in the upper right.

- Select the Calculation Options tab, then select the Weighted radio button to choose a Weighted Grade System. Select Save to retain changes. Select Yes to confirm the change. Select Close to move to the Manage grades page.
Once you have changed the grading system to Weighted, the weights are applied on the Manage Grades page. Weights can be applied to a singular grade item like a Final Exam or across a Category like Discussions where there are multiple items under one Category.
Applying Weights to a singular grade item
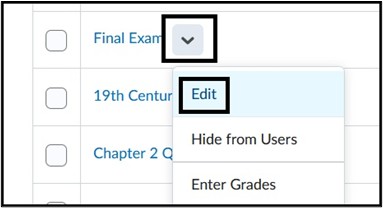
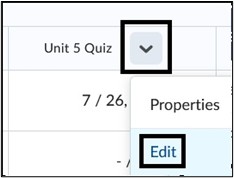
- On the Manage Grades page, all grade items are listed. To apply a weight to a singular item, scroll to that item and select the action arrow to the right of the name. Select Edit from the drop-down menu.
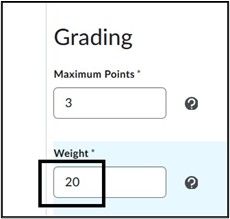
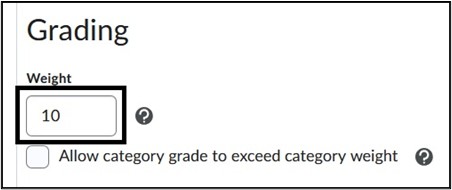
- On the Edit page, scroll down to Grading. Under Weight, enter the percentage value for the weight. Select Save and Close to retain all changes.
Creating Categories
To apply weights by Category, you must first create categories on the Manage Grades page and associate grade items with their corresponding category.
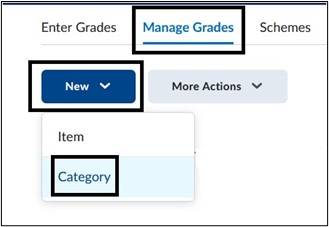
- On the Manage Grades page, select New > Category
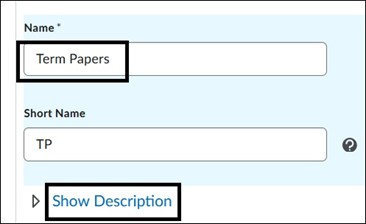
- Provide a Name for the Category, for example Term Papers or Discussions. You can provide a Short Name which will display on the Enter Grades page for this grade item. A Description of the Category can also be entered.
- Under Grading, enter the percentage weight value for that category.
- Under Distribution, select how the weight is applied to the items in the Category. Select Save and Close once complete.
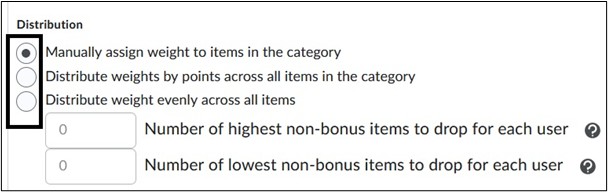
Available Distribution options:
- Manually assign weight to items in the category - allows instructors to assign an individual weight to each item in the category. All items in that category must add up to 100.
- Distribute weights by points across all items in the category - allows instructors to assign weight according to the number of points given for each item in the category. This selection would give one item a higher weight than another item in the same category. All items must be added to 100 in that category.
- Distribute weight evenly across all items - makes all items in the category even in weight. (Optional) Enter the number of grade items for Brightspace to automatically drop in the "Number of lowest non-bonus items to drop for each user" field. This can be used if you have quizzes and want to drop the lowest score of all of them, for example.
Assign Categories to Grade Items – Individually vs. Bulk
Most instructors create graded assessments in their courses before creating categories. Once Categories are created, they can be assigned to assessments one at a time or assigned in bulk on the Manage Grades page. Please note, it is possible to create categories first, then the assessments, which are added to categories using the instructions below.
Assign Category One at a Time:
- On the Manage Grades page, scroll to the grade item being assigned to a category. Select the action arrow to the right of the grade item name and select Edit.
- On the Edit Item page, scroll down to Category and select the correct category from the drop-down. If needed, select New Category to create an additional Category. Select Save and Close to hold changes.

Assign Categories in Bulk
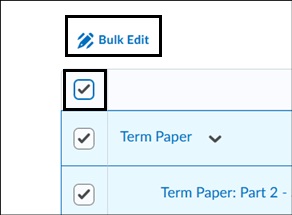
- On the Manage Grades page, check off the Select All box in the upper left to highlight all grade items. Select Bulk Edit.
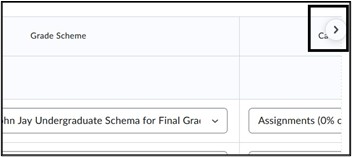
- On the Bulk Edit page, select the arrow in the upper right to view the Category column.
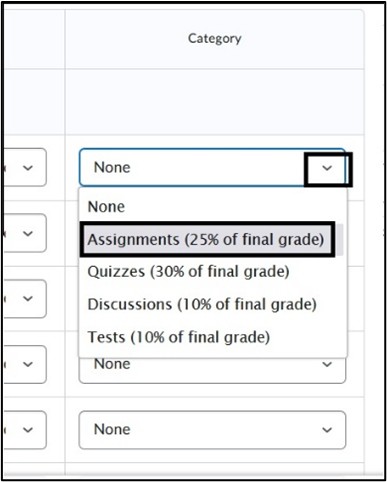
- Select the drop-down menu to assign grade items to a category. Additional changes can be made on the Bulk Edit page like changing the overall Weight percentage and editing Grade item names. Select Save to hold changes.
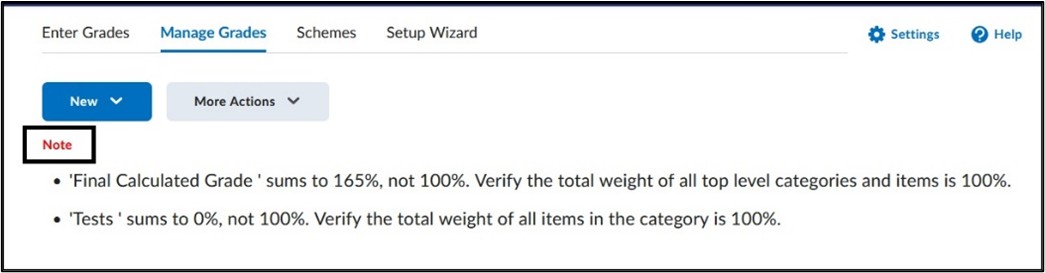
Once weights are assigned, check the Note field labelled in red that may show on the Manage Grades page. This is a warning that the weights are not configured correctly. Once any highlighted issues are corrected, the note will be removed.
For more information and assistance, please email Office of Digital Learning - Learning Management System Support at LMS.faculty@jjay.cuny.edu.