Create a Brightspace Assignment
In Brightspace, instructors can create assignments where students can upload their work. Brightspace assignments can be set to Ungraded, Not in Gradebook, or In Gradebook, which will automatically connect the assignment to Grades.
There are two ways to create an assignment within Brightspace, either through the Assignments tool or within a Content module.
Create an assignment using the Assignments tool
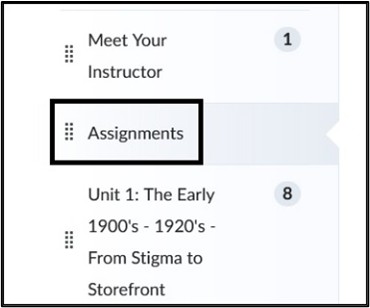
- In your course, select Assignments on the course navbar.

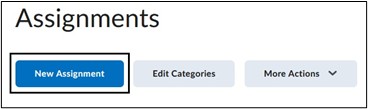
- On the Assignment page, select the New Assignment button.
Create an assignment in a Content module
- In the course, select Content on the course navbar.

- In the Table of Contents panel, select the Module into which the assignment will be placed. If a module needs to be created, use the Add Module option at the bottom of the Table of Contents.
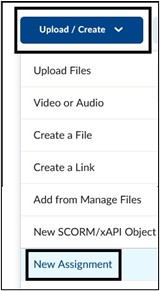
- Within a module, select the Upload/Create button. Select New Assignment from the drop-down menu.
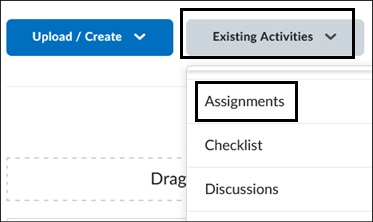
Note: When creating a new assignment within Content, the assignment will be linked to the Assignments tool page. Creating assignments using the Assignment tool will not automatically link the assignment in Content. To link an existing assignment in a content module, select Existing Activities > Select Assignments.
New Assignment page
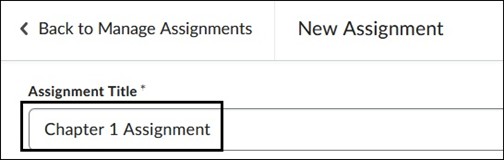
- On the New Assignment page, enter a name under Assignment Title. We recommend keeping the title concise and not including specific dates as you will have to adjust that manually if you copy the course in the future.
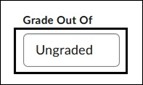
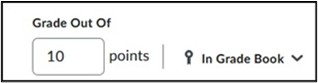
- Under Grade out of, select the Ungraded box and assign a point value for the assignment. Once the points are entered, this will automatically connect the assignment to the Grade Book and create a Grade item by the same name.
- Enter a Due Date.
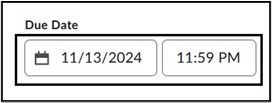
Note: A Due Date does not restrict access to an assignment. Students can still submit beyond the Due Date and will be marked as Late.
View Brightspace - What are Due, Start and End Dates for more information.
- Enter instructions for the assignment in the text editor box. Using the text editor, you can add images, quick links, and use the Insert Stuff button to add videos and media. Instructors can also add audio or video notes through the Record Audio and Record Video links.
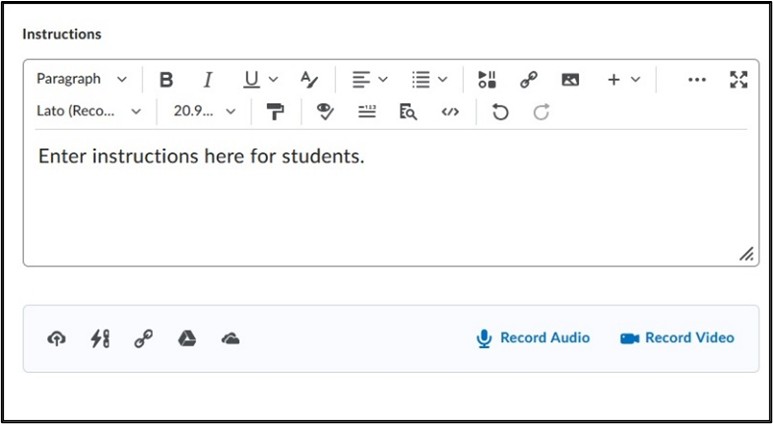
View About Brightspace Editor for more information.
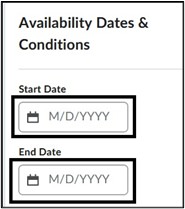
Availability Date and Conditions
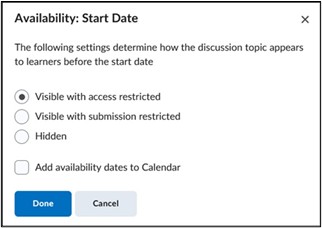
- Select a Start and End Date. The Start and End Date is the timeframe during which the students can submit their assignment. Select Visible with access restricted to change how the assignment link displays before and after the set dates.
- Select Release Conditions if you want to apply criteria to restrict the assignment until that criterion is met. Select Manage Special Access to restrict access by user for a specific date. This can be used if you need to give access to an assignment for a student before or after the main Start/End Date or restrict the entire assignment to a particular user.
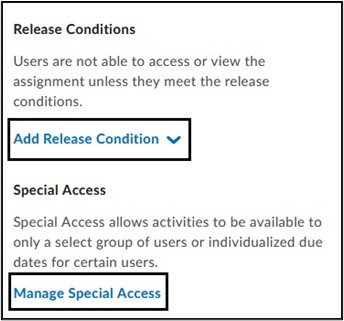
View About Release Conditions for more information.
View Set release conditions for an assignment for more information, including on Special Access.
Submission and Completion Settings
- Under Submission and Completion, select the Assignment Type. By default, all assignments are created as an Individual Assignment, to be completed by a single student. Under Category, assign a category that will display on the main Assignment page to filter assignments.
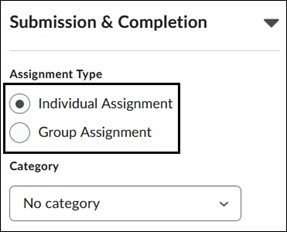
Note: To assign a Group assignment, you must first create the Group within the course.
View Create and manage categories and groups for more information.
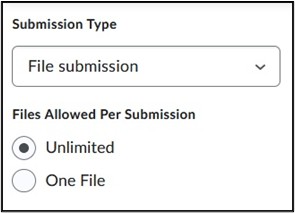
- Select Submission Type, as by default assignments are set to File Submission. Under Files Allowed per Submission, select how many attachments students can add under one submission. Select either Unlimited or restrict the submission to one file.
View Customize Submission Type & Completion settings for more information.
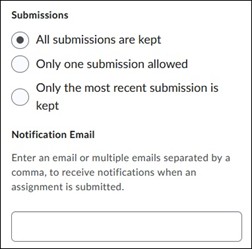
- Under Submissions, select how submissions are saved. By default, multiple submissions are allowed and each submission will show as an attempt under the student’s name. If you only want students to be able to submit once, you must select Only one submission allowed. Under Notification Email, an email address can be entered to be alerted when an assignment is submitted. Please note, this will generate an alert for every submission.
Evaluation and Feedback
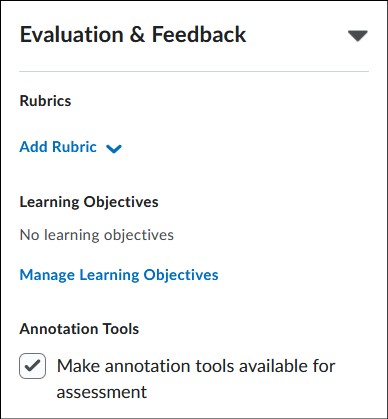
- Under Evaluation and Feedback Rubrics can be added to score assignments. Please note, Learning Objectives are not configured in our Brightspace environment. Annotation tools can be used to provide feedback and comments on assignments.
View Create a rubric using the Rubrics tool for more information.
- Additional settings under Evaluation and Feedback are Anonymous Marking, Select Evaluators and adding the Turnitin Integration.
- Anonymous Marking – Hides student names during assessment. Instructors must select Publish All Feedback on the Assignment submission page. The individual Publish button within a student’s submission will be disabled when this setting is checked off. This setting cannot be disabled once assignment submissions are made. Once all submissions are published, students’ names are revealed to instructors.
- Evaluators – Instructors can assign evaluators such as Teaching Assistants to evaluate and publish a select amount of student submissions.
- For more information access Customize Evaluation and Feedback settings
- Turnitin Integration – Turnitin plagiarism checking can be enabled within Brightspace assignments by selecting Manage Turnitin. Currently there are two versions of Turnitin in Brightspace. This version (v2) adds plagiarism checking to a standard Brightspace Assignment. The traditional Turnitin LTI can only display and must be used within a course Content module. Before selecting which version of Turnitin to use, view the Turnitin Comparison Chart for the difference in functionality between the two versions. Some features are specific to the version of Turnitin used, and not all features are available in both versions.
View Assignments and Turnitin for more information.

- Once all settings and instructions have been added to the assignment, make the assignment Visible to students. Select Save and Close to retain all selections.

Note: When creating a new assignment, the assignment by default is set to Hidden. Even if a Start and End Date is set, an assignment will not be released unless the assignment is set to Visible.
Edit an Assignment
- In the course, select the Assignments link on the course navbar.

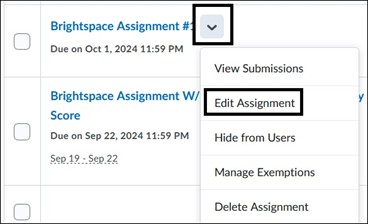
- On the Assignments page, click on the Actions drop-down menu, shown as a downward arrow to the right of the Assignment Name. Select Edit Assignment.
Note: Any changes made to the assignment on the Assignments tool page will reflect in Content within the module if the assignment is linked.
View Create an assignment.
View Grade Assignments.
For more information and assistance, please email Office of Digital Learning - Learning Management System Support at LMS.faculty@jjay.cuny.edu